Modeling and Graphic Techniques III (MZT III) The New Subject for International Program of FA CTU
For nearly a century, three-dimensional models have been considered an indispensable tool of the architectural design process. Models provide designer with an extremely effective medium for exploring ideas, testing theories, and discovering innovative
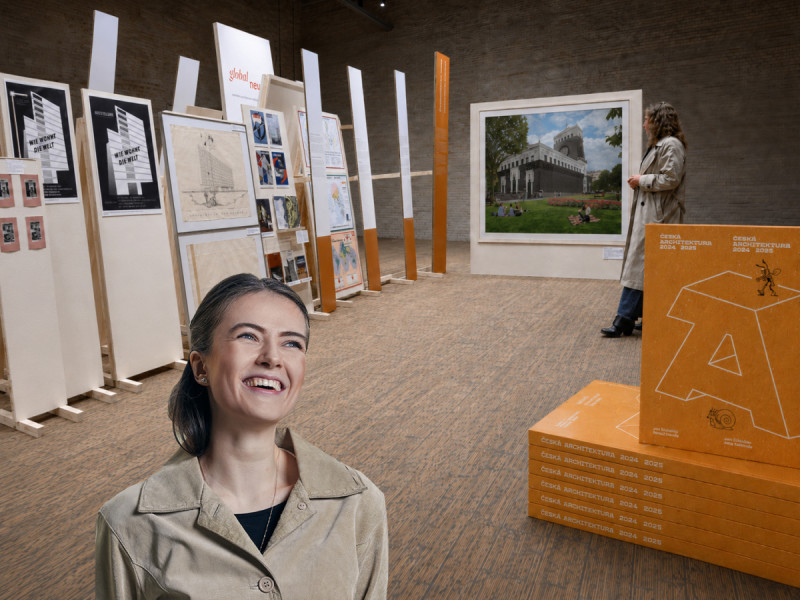
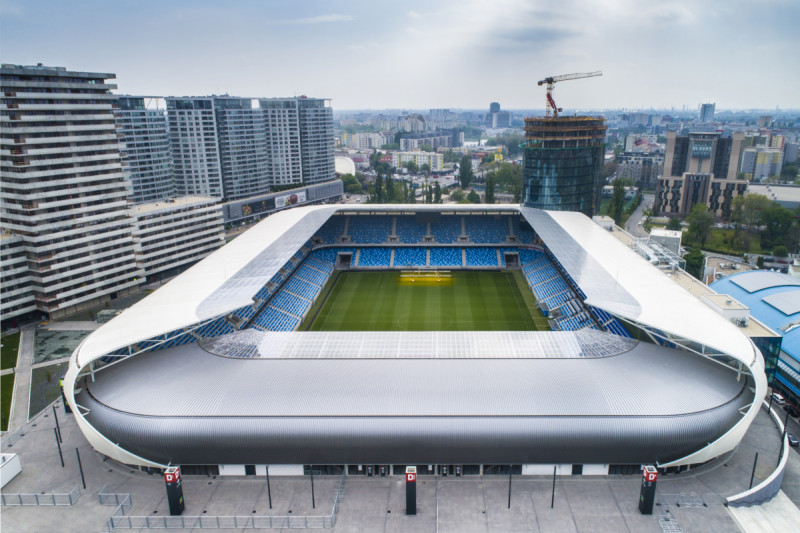
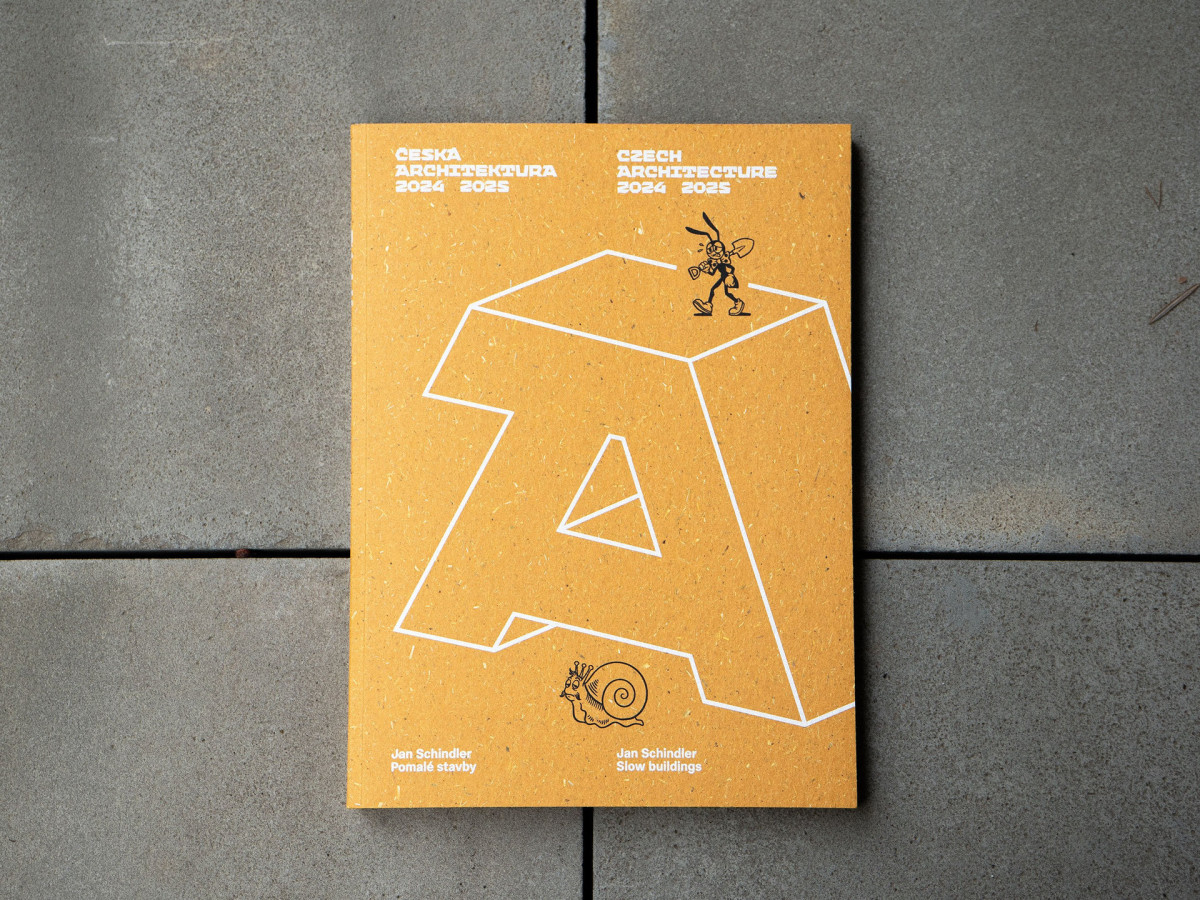
EARCH.CZ , 19. 6. 2002


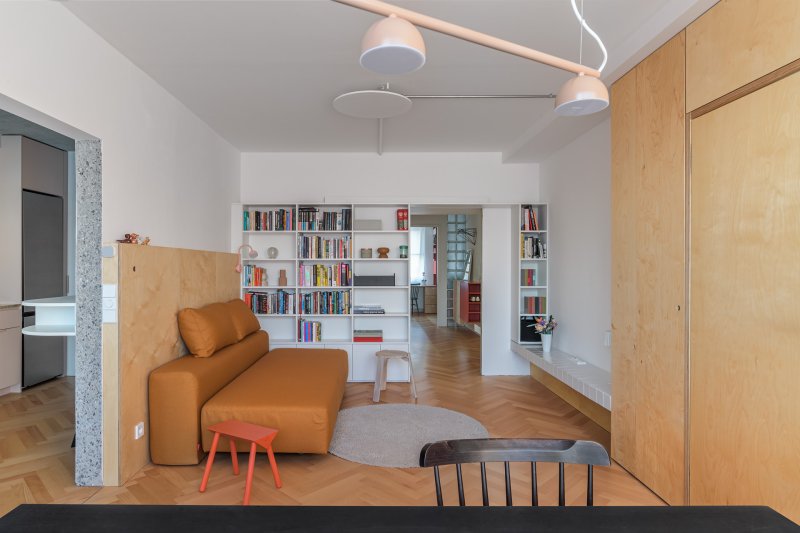
This project has been supported by CTU grant No. 300013505.CTU, Faculty of Architecture, Dept. of Architectural ModelingThákurova 7, 166 34 Praha 6...students are forced to learn the basics of the design modeling mostly from their frustrating trial and error. This program as step-by-step guide to basic and advanced design process modeling, significantly reduces the learning curve. This program is about using the architectural model as a tool for discovery. When used as an integral part for design process, study models are capable of generating information in an amount of time comparable to that needed for drawing, and they offer one of the strongest exploration methods available. The strategies, assembly techniques, and presented here, which are developed over years of model exploration, provide wide a broad range of options. Because this program is primarily concerned with design process, elaborate presentation models, typically built after a design is completed, are not addressed. Instead, work is explored with quick-sketch constructions and simple finish models that can be built with materials suitable for studio or in-house construction. Although most project are approached from an architectural perspective, the techniques apply equally well to three-dimensional artwork and commercial designs.The program acquaints students with essential design modeling terms, equipment, materials and construction methods. Then with the help of high-quality digital photographs and in-depth case studies, student walks through the basics of determining scale; generating new ideas; exploring design alternatives; modifying, editing and integrating new forms into models; and adding details and other final-stage refinements. The program also provides detailed guidance on how to model using advanced tools and materials. Students learn how to model with wood, found object, metal rods and screens, clay, plexiglass and other materials. Student also learns how to work safely and effectively with power tools such as belt sanders, table saws, drills and band saws, as well as how to transfer model dimensions to 2D plan, section and elevation drawings. CONTENSSTARTEquipment, Materials, and Model TypesThe basic equipment and definitions needed to prepare for modeling. Although an effort has been made to employ common terms, in the absence of industry-vide standardization, alternate or overlapping definitions may be encountered in different studio settings. The equipment and materials presented in this section are appropriate to basic study models.Equipment The equipment used for most modeling needs is divided into two sets: Basic equipment this equipment can be very simple and is adequate for most modeling tasks. Expanded equipment this equipment can make the job easier and help with specialized tasks. Materials The basic materials used for the majority of modeling tasks. Many choices are available; however, for the purpose of these lessons, the primary focus is on inexpensive, easy manipulated paperboard materials. Material considerations:- the speed with which the model is to be built- the degree of modification and experimenting desired- the ability of a material to hold its shape or span at scale modeling distances- the thickness of the scaled component the model is intended to reflect.Model TypesModels are referred to in a variety of ways, and terms may often be used interchangeably in different settings. Although there is no standard, the definitions in the following lists are commonly used. All of the model types discussed (sketch, massing, development, etc.) are considered to be study models, including those used for formal presentations. As such, their purpose is to generate design ideas and serve as vehicles for refinement. They can range from quick, rough construction to resolved models. Whatever state they are in, the study model implies that they are always open to investigation and refinement. Study models can be considered to belong to either of two groups. For the purposes of this discussion they are referred to as primary models and secondary models. The primary set has to do with the level or stage of design evolution, and the secondary set refers to particular sections or aspects of the project under focus. A secondary model type may be built as a primary model type, depending on the level of focus. For example, a model used to develop interior spaces would be thought of as an interior model but would be also be a sketch model, development model, or presentation model, depending on its level of focus. Primary models are abstract in concept and are employed to explore different of focus (sketch, diagram, concept, massing, solid/void, development, presentation/finish). Secondary models are used to look at particular building or site components (Site contour, site context, entourage/site foliage, interior, section, facade, framing/structure, detail/connections). CONNECTBasic Techniques for Assembling Model ComponentsA catalog of basic modeling techniques. Many of the examples included here will be presented throughout lessons in the context of step-by-step models. This dual presentation is intended to convey an understanding of where and how the techniques may be used.Cutting MaterialsCutting sheets, cutting sticks and wire, cutting and drilling holes, trimming and clipping.Attaching PartsAttaching planes, alternative attachment methods, integrating forms, attaching sticks, attaching plastic sheets and wire.Fitting ComponentsAligning edges, detailing connections, handling small parts, shaping and reinforcing. TemplatingTransferring drawings, templating parts, templating multiples.FinishesFenestration, surfacing.Site WorkSolid contour model, hollow contour model, site foliage, model base construction.EXPLOREA Skeletal Framework for Conceiving and Using ModelsThe design process is an evolutionary event that involves establishing a direction an developing it through experimentation and refinement. At each stage, a range of studies should be conducted to explore the direction and strength of various design moves.An Overview of Section ConceptsAn overview of the typical stages in the design process for models. The considerations are similar to those for drawn projects, but most of the required information is derived directly from the model. the linear form of the outline is one of convention, as many of the steps may be combined or used interactively. ScaleDetermining appropriate scale based on:Project size fitting the building and site to the available work space. Type of study adjusting for the stage of development. Level of detail scaling for the size of details being explored. Assigned scale determining scale, after making concept and sketch models without using a fixed scale. IdeasGenerating initial information through:Drawing with the model sketching ideas exclusively with the model, using expressive and carefully proportioned approaches. Working with two dimensional drawings working back and forth between drawn and modeled information.AlternativesExploring design directions by:Multiple approaches building multiple solutions or testing multiple treatments on a single model.Adjustable models using movable parts to explore alternative relationships.SiteIntegrating site concerns with other design information:Contour models including site information as an integral part of the initial driving forces for design direction.Context model responding to environment as it affects initial design direction.ManipulationWorking with models to visualize options:Modifying and editing cutting and adding parts to design directly on the model.Modifying site contours integrating the building with the site.Digression using the unexpected to inform and maintain design ideasInterpreting making a fundamental shift in the physical form of perception of the modelDevelopmentDeveloping the project by:Project development exploring an evolutionary path from initial concepts to a complete project.Increasing scale building larger models as the investigation moves from general concerns of site and scheme focused concerns of elevations, interior space, and detailing.Coding and hierarchy establishing hierarchy and coding to define a range of contrasting elements and code conceptual layers.Converting renovation of existing models versus entirely rebuilding.Focusing moving studies through successive stages of refinement.APPLYStep-by-Step Case Studies of Concepts and TechniquesThe following projects trace the evolution of design from early conceptual stages to finish models. Assembly techniques and strategies are used to convey possible applications in the context of evolving design. Case Study : ResidenceStage 1 Initial Sketch StudiesStrategy with the project parameters in mind, the student makes alternative sketch models from small schematic scaled drawings and pencil sketches. After exploring different approaches to generate ideas, an individual or hybrid model is selected for further development.Assembly rapid construction techniques using knife, scissors, and hot glue.Project a 200 m2 house on narrow infill lotScale 1:200 models measure approximately 60 x 90 cm (actual size). Note: Even in this scale, the model is not built as a pure massing model but is treated as a solid/void model to understand the contribution of openings to the overall composition of forms.Materials poster board, foam core.The alternative approaches are made to generate ideas and explore a range of directions. Work is begun using small measured schematic drawings, with each model employing a basic formal strategy to organize its moves. Stage 2 Manipulation and FocusingStrategy the general direction of the sketch is increased in scale for further study and development. Alternative solutions for different sections of the model are also considered.Assembly the model is assembled with relative speed, but more accurately than the sketch model. Parts are lightly adhered using white glue with the intent of cutting and changing the components as the model progresses. A number of building and editing techniques are illustrated during the construction of this model.Project a 200 m2 house on narrow infill lot.Scale 1:100 the scale of the sketch model is doubled in size for this study. The increase allows for more detail and refinement but still small enough to lend itself to quick alternations and visualization.Materials two-ply museum board paper.One of alternative is selected from the initial studies and rebuilt for further study. The raised section at the rear of the initial model is immediately lowered to the ground plane. This "tail" is then modified several times to explore different readings. At this level of study, the development model must show all solid/void relationships to provide the next level of information.Stage 3 Finish Model and SiteStrategy with the basic relationships established, the model is again increased in scale and built with greater accuracy. The presentation/finish model can also be considered an advanced type of study model, as it affords the focus for designing details such as glazing patterns, site elements, interiors, and roof treatments.Assembly a number of new techniques and materials applicable to finish models are included in this example.Project a 200 m2 house on narrow infill lot.Scale 1:50 this is typical scale for fully developed house models, as it allows sufficient size for detailing.Materials three-ply museum board paper, foam core.The model is built as an example of the level of finish appropriate for formal presentation. The abstract detailing relies on implied material simulation. Items that cannot be reproduced accurately at 1:50 scale are not included.Stage 4 Further ExplorationStrategy the continuing possibility to serve as a site for refinement even after the building is constructed underscores the model's usefulness as an evolving site of exploration.Assembly this example demonstrates the use of thick, flexible acetate for curved glass surfaces.Scale 1:50 Materials flexible acetate, plastic rods, museum board, foam core.The presentation model is used as a further site for exploration. The alternative approaches for enclosing the back patio area are carried out directly on the model.ADVANCECreating Curvilinear Forms and Special TechniquesThe majority of modeling materials, such as board and sticks, are conductive to building orthogonal planar shapes. Design may often be steered by the propensity of these materials towards planar solutions when something more sculptural is desired. In response to some of the limitations of these materials, this part presents a range of techniques for making sculptular shapes. Because sculptural elements are more often needed as component of a model, many of the examples present ideas for creating individual shapes. These can be expanded to entire models if desired. EXPANDTopics for Continuing ExplorationAt the end this part provides further information concerning alternative media, related models, transferring model dimensions, photography, computer modeling, and detailed presentation models.Alternative MediaMost of the models have been made with paperboard materials. These materials are valued for being inexpensive, quick to assemble, and easy to modify. As such, they are ideal for the majority of study models however, there are situations in which it is advantageous to use wood, metal, plastic, and plaster in model making. These media can be combined as an expedient way to construct components or employed for expressive purposes. Although they may not completely reflect the behavior of full-scale components, they may provide a better understanding of material properties.Related ModelsArtwork model can be used for large-scale design project, such as site or gallery installations, the same way they are used for building design. The strategies and techniques for three-dimensional exploration are completely applicable and can serve to work out ideas that otherwise may remain only partially developed.Model PhotographyPhotography TechniquesAlthough detailed information on film types, shutter speeds, and lens openings is limited, the following guidelines can produce acceptable results using a 35 mm camera. Is highly advisable to photograph models as soon as they are finished, as time quickly takes its toll on these constructions.Film whether we are shooting indoors or out doors, daylight print film is the most flexible and forgiving type of film. We can also use Ektachrome slide film, but the exposure tolerances will be tighter. Film speeds range from 100ASA to 400ASA. The lower the number, the more light we will need; however, the resolution is much better with 100- or 200-speed film.Exposure images tend to remain focused in foreground and background areas (depth of field) at a smaller lens opening, about F8 to F16. White models can bounce so much light off of their surfaces that light meters often call for openings smaller than required. It is wise to test the meter reading with a neutral gray surface. Moreover, for the best insurance against the variables of artificial light sources, it is important to bracket our shots (take exposure above and below the meter readings).Outdoor LightingShooting outdoors is the easiest solution to lighting. The camera will tend to read lighting conditions correctly, low-speed film can be used, and automatic cameras are effective. A calm, sunny day with the sun at lower angle in the sky (early or late in the day) produces the best modeling shadows. Experiment by turning the model around andwatching through the lens as different shadows are cast.Indoor LightningLighting can be accomplished by using a single blue "photoflood" light (compatible with daylight film color characteristic). The use of single source of light will allow us simulate the shadow-casting effects of the sun. Light can also be bounced of a white board to soften its effects and control the way it hits the model. The light source must be out of the camera eye, preferably behind it to avoid hot spots. To help with this, a hood can be used on the lens to shield side light from the lamp. We can also photograph a model indoors, using daylight from a north-facing bank of windows, with a tripod and very slow shutter speeds. The camera can be hand held down to shutter speeds of about 1/15th second, using a steady hand or something to brace against. Shutter speeds cannot usually be controlled on automatic cameras.ViewsModel can be photographed from many angles, depending on what one wishes to communicate. Overall or bird's-eye views can convey sense of the total building. Low views, shot up into the model, can give the effect of being on the site looking up at the building. A model scope (a special device like a small periscope that can be fitted to the camera) can be used to photograph interior views and help capture eye-level views. Special extension tubes and other lens devices can also be made to bring camera eye down into model more affordably. Models can be photographed "straight on" to eliminate as much perspective as possible and create images similar to elevation drawings. These views can be useful as tracing guides to produce orthographic drawings from models. The sculptural or modeled view is probably the most common one used for capturing the overall geometry of a model as three-dimensional object. BackgroundsA smooth, regular-textured background with some tonal contrast to the model, such as chipboard, black cloth or brown craft paper, can work well. Clean, even surfaces such as concrete or carpet can serve as backgrounds out-of-doors, as long as there is enough are to keep the edges out of camera frame.